How To Make A Perfect Yo-Yo Every Time
How To Make A Perfect Yo-Yo Every Time
Lazies, It’s easy to make perfect yo-yo’s for your next sewing or quilting project. You know I love yo-yo’s. So, while I was making some recently, I put together a tutorial. Here is a step-by-step tour of using the Clover Yo-Yo Maker tools. To print this tutorial, click ‘print this Lazy post’ at the end of this post.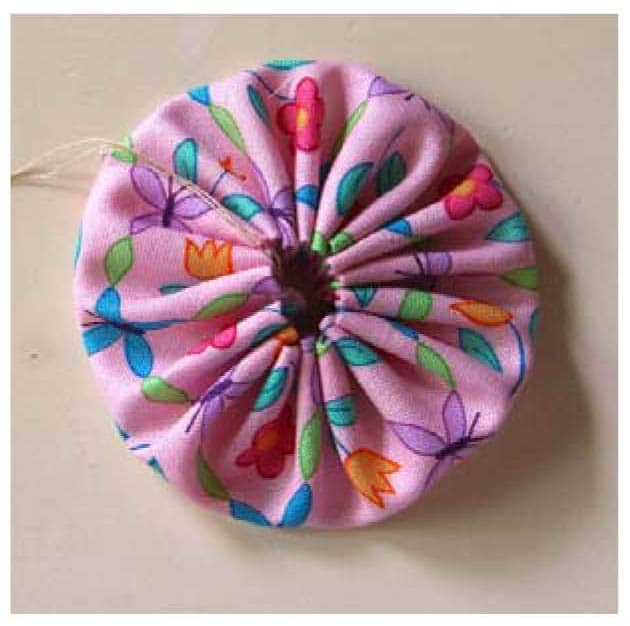
Subscribe to our blog so you don’t miss a juicy morsel.
Yo-Yo Maker:
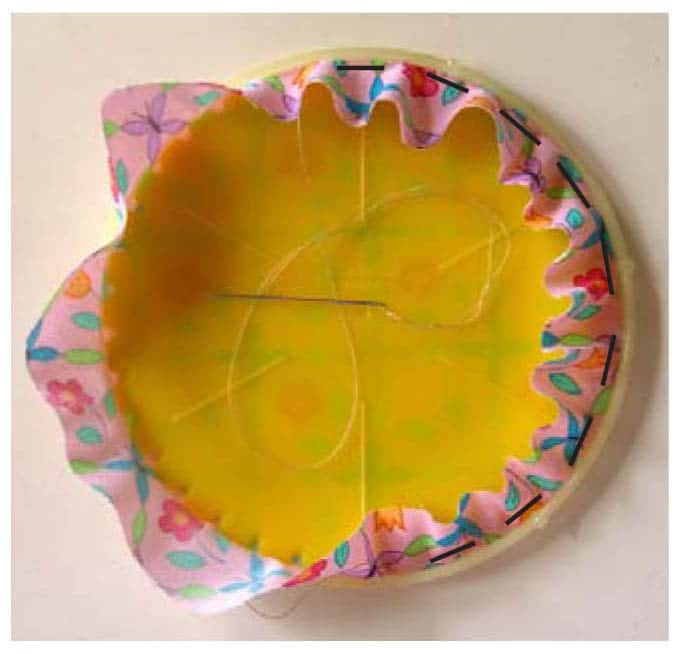
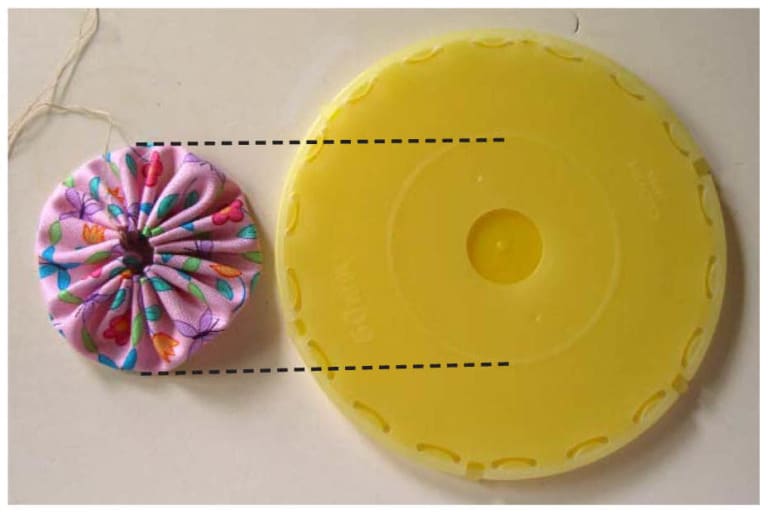
Each Clover Yo-Yo Maker has two parts: a disk, shown in dark yellow to the left, and a tray, shown in light yellow to the right. Place a piece of fabric between the disk and tray, snap together and go. The tray and disk need to be aligned with each other on the round yo-yo makers only. Match the ridge lines on the disk to the notches at the edge of the tray. You can see a couple of details better with the disk snapped into the tray.

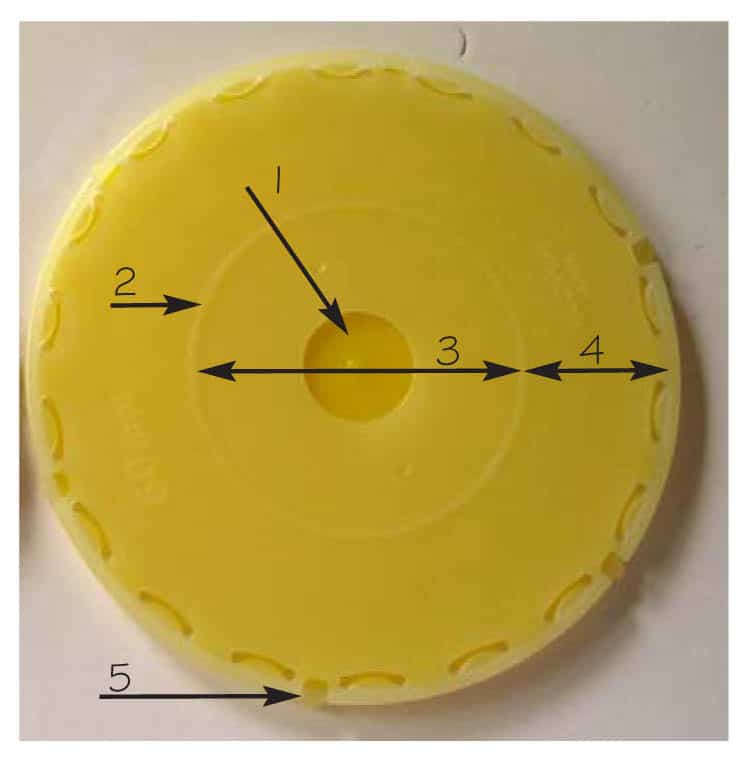
1. Use the hole in the center of the tray to pop the disk out when done.
2. This slightly raised ridge is the finished size (outside edge/ fold line) of the yo-yo made with this tool. Each tool has a finished-sized indicator (either a ridge, or a hole the size and shape of the yo-yo).
3. Area inside the ridge will be the back of the finished yo-yo.
4. Area between the ridge and the edge of the tray will be on the front of the finished yo-yo. See Note below.
5. Use these notches to align the disk for round yo-yo makers only.
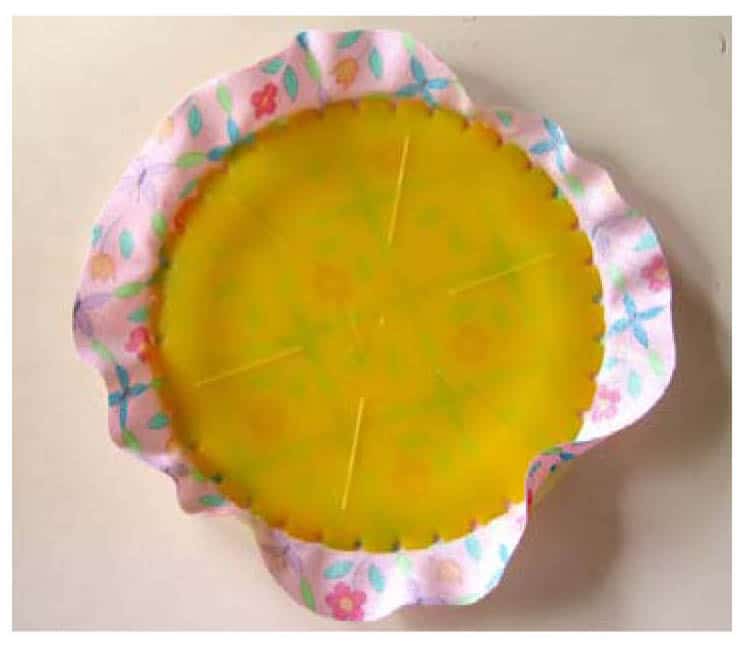
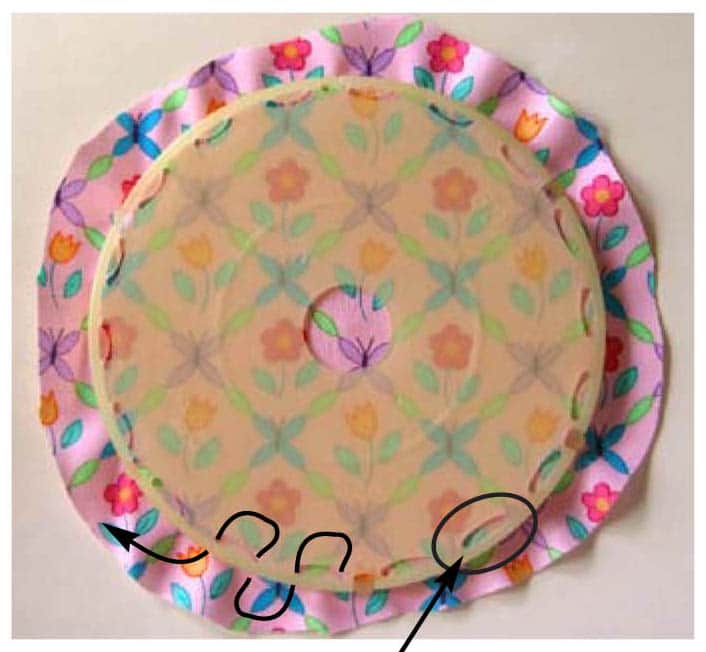
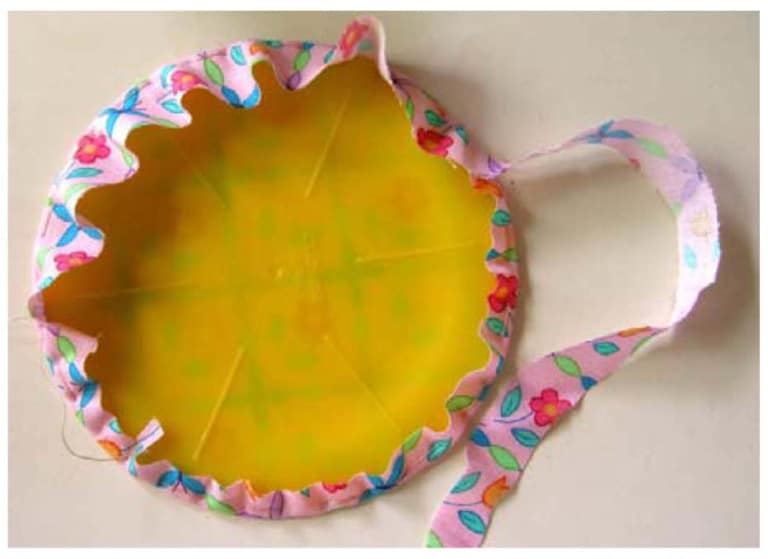
- With a needle and thread (knot the end or leave a tail) stitch from the disk side, through the folded seam allowance, finding the opening of the crescent on the tray and pull needle/thread through. Continue holding the seam allowance flat against the tray.
- Finish the stitch by sewing through the other end of the same crescent.
‘Quick Yo-Yo Makers’ from Clover Needlecraft Inc.
Original Sizes:
Round – Small, #8700
Round – Large, #8701
New in Summer 2007:
Round – Extra Small, #8702
Round – Extra Large, #8703
Heart Shaped – Small, #8704
Heart Shaped – Large, #8705
Flower Shaped – Small, #8706
Flower Shaped – Large, #8707
More about the six new shapes and sizes here.
Subscribe to our blog so you don’t miss a juicy morsel.
- Fat Quarter Bundles: A Love/Hate Relationship And What To Do About It
- Toilet Paper Wedding Gowns and More
- NQA Show: Beautiful Quilts, Great Buttons, Munchies and More
- Don’t Be Timid When It Comes To Applique
- Create Texture And Fun With This Unique Way To Use Yo-Yos
- Adorable And Clever Gifts Are Just A Yo-Yo Away

Comments
Post a Comment